Arduino Speaker and Lithophane Box
A project that combines arduino, 3d printing, and lithography.
Overview
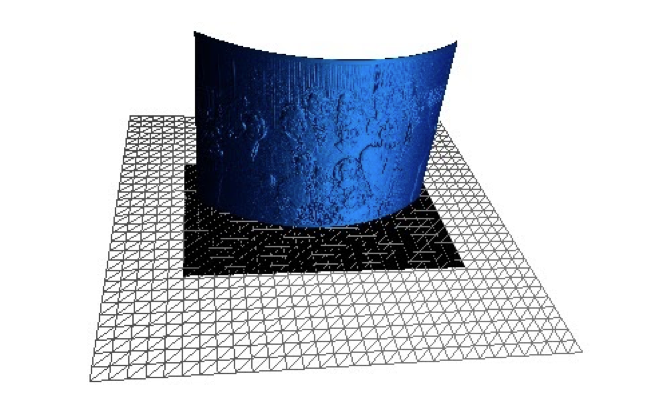
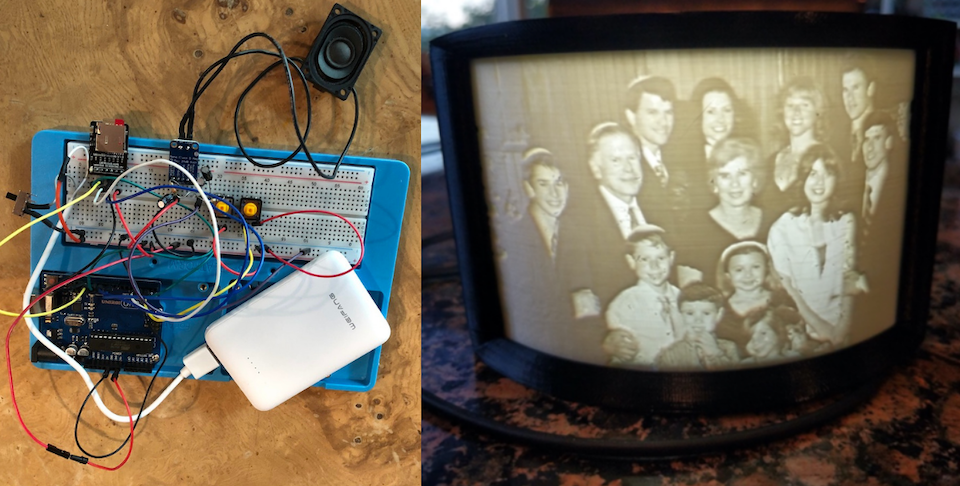
A lithophane is “an etched or molded artwork in very thin translucent porcelain that can be seen clearly only when backlit with a light source.” Through the help of some software, a two-dimensional image can be transformed into three-dimensions, which can then be 3D printed. My family had planned to gather in celebration of the 60th anniversary of my grandparents this June. Unfortunately, the coronavirus turned the in person gathering into a zoom meeting. I wanted to send something to my grandparents to remind them that their family is thinking of them. So, I chose a family photo that dates back to my oldest cousins Bat Mitzvah in 2006. I planned to create a box to store the 3D printed version of the photo which would be lit up using an LED light strip. Inside would also have an additional pre-recorded message from my family that could be played using a button attached to the box. Throughout the creation of my voice activated lithophane box, I learned about 3D printing, soldering, circuit design, and the components of building a speaker.

Design and Build Process
The design process started with choosing a photo and ordering the necessary pieces to build the sound component. I ordered the following components from Digi-Key: a small speaker, a 2.5W Audio Amplifier, White PLA filament, a MicroSD Card Module, and a power bank for turning the lights/sound on and off. I was able to transform my two-dimensional photo into a three-dimensional STL file using an online software. I set up my Creality 3 Ender Pro with the White PLA filament and allowed the printer to do its work.

In addition to the parts I ordered for the sound component of this project, I utilized the breadboard, connecting wires, resistors, capacitors, buttons and the Arduino UNO from a starter kit ordered on Amazon. Some of the pieces that arrived from Digi-key required assembly using a soldering iron. I learned about the basics of soldering wires and was able to assemble the amplifier and speaker. Moreover, I modified the power bank to be controlled using a switch. All the parts were now ready to be placed within my circuit.

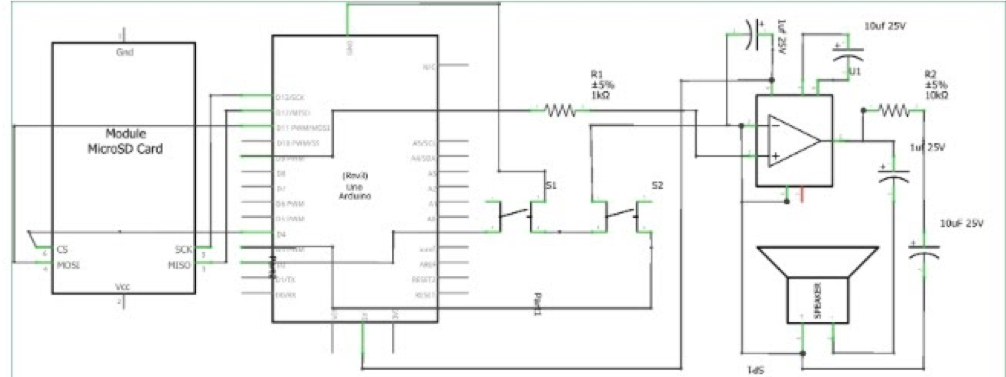
I followed a circuit diagram for a speaker system using the components mentioned above for this project. The circuit included two buttons, one for play/pause and one to skip between tracks on the SD card. The Arduino and the SD card were set up to communicate using the SPI communication protocol. Pin number 9 was used to read the music file from the card and was amplified before outputting through the speaker. The push buttons were connected to pin 2 and 3 of the Arduino to give the user control over the audio. I connected the power bank to the Vin pin, which worked, however, I later learned that the Vin pin is usually for higher voltage sources since it is connected to a voltage regulator; thus, I could have connected it to +5V pin on the Arduino. I used an LED light strip that I had lying around the house as the light source behind the lithophane. With some help from a friend, he showed me how to use 5V from the battery bank and step it up to 12 volts using a boost converter.
Final Product
Once the circuit was complete, I used the TMPpcm library to program the Arduino UNO. The library includes simple functions such as play(), pause(), quality(), setVolume() to control the output of the speaker. For the mean time, I used the code provided by the tutorial I was following for the project; however, I plan to modify the code in the near future. The provided code that I uploaded allowed me to skip, pause, and play 4 files from the SD card. In order for the speaker to work, the sound files had to be in WAV format, so I used an [online converter]((https://audio.online-convert.com/convert-to-wav) to achieve this step. The settings were as follows: 8 Bit Resolution, 16,000HZ sampling rate, and an 8-bit unsigned PCM format. The plan is to have my family send audio files in which they record a message for my grandparents.

As a Computer Science major, I have learned how to write software for hardware, but this project was the first time I got to work with hardware directly.